
2-3 weeks ago I made a set of 6 Thank you cards and listed them on Etsy. I wanted to make a box to go with the cards and put the cards in, but I was not sure about the measurements =). That thoughts passed away as weeks went by and yesterday I made a basket (cased from Angie Juda's website). I love making baskets and bags and boxes, which made me think why don't I try this more... go through websites, find tutorials and make some of it. Splitcoaststampers resource room is the best place to start with. So I decided to make the 3"x3" Notecard Box

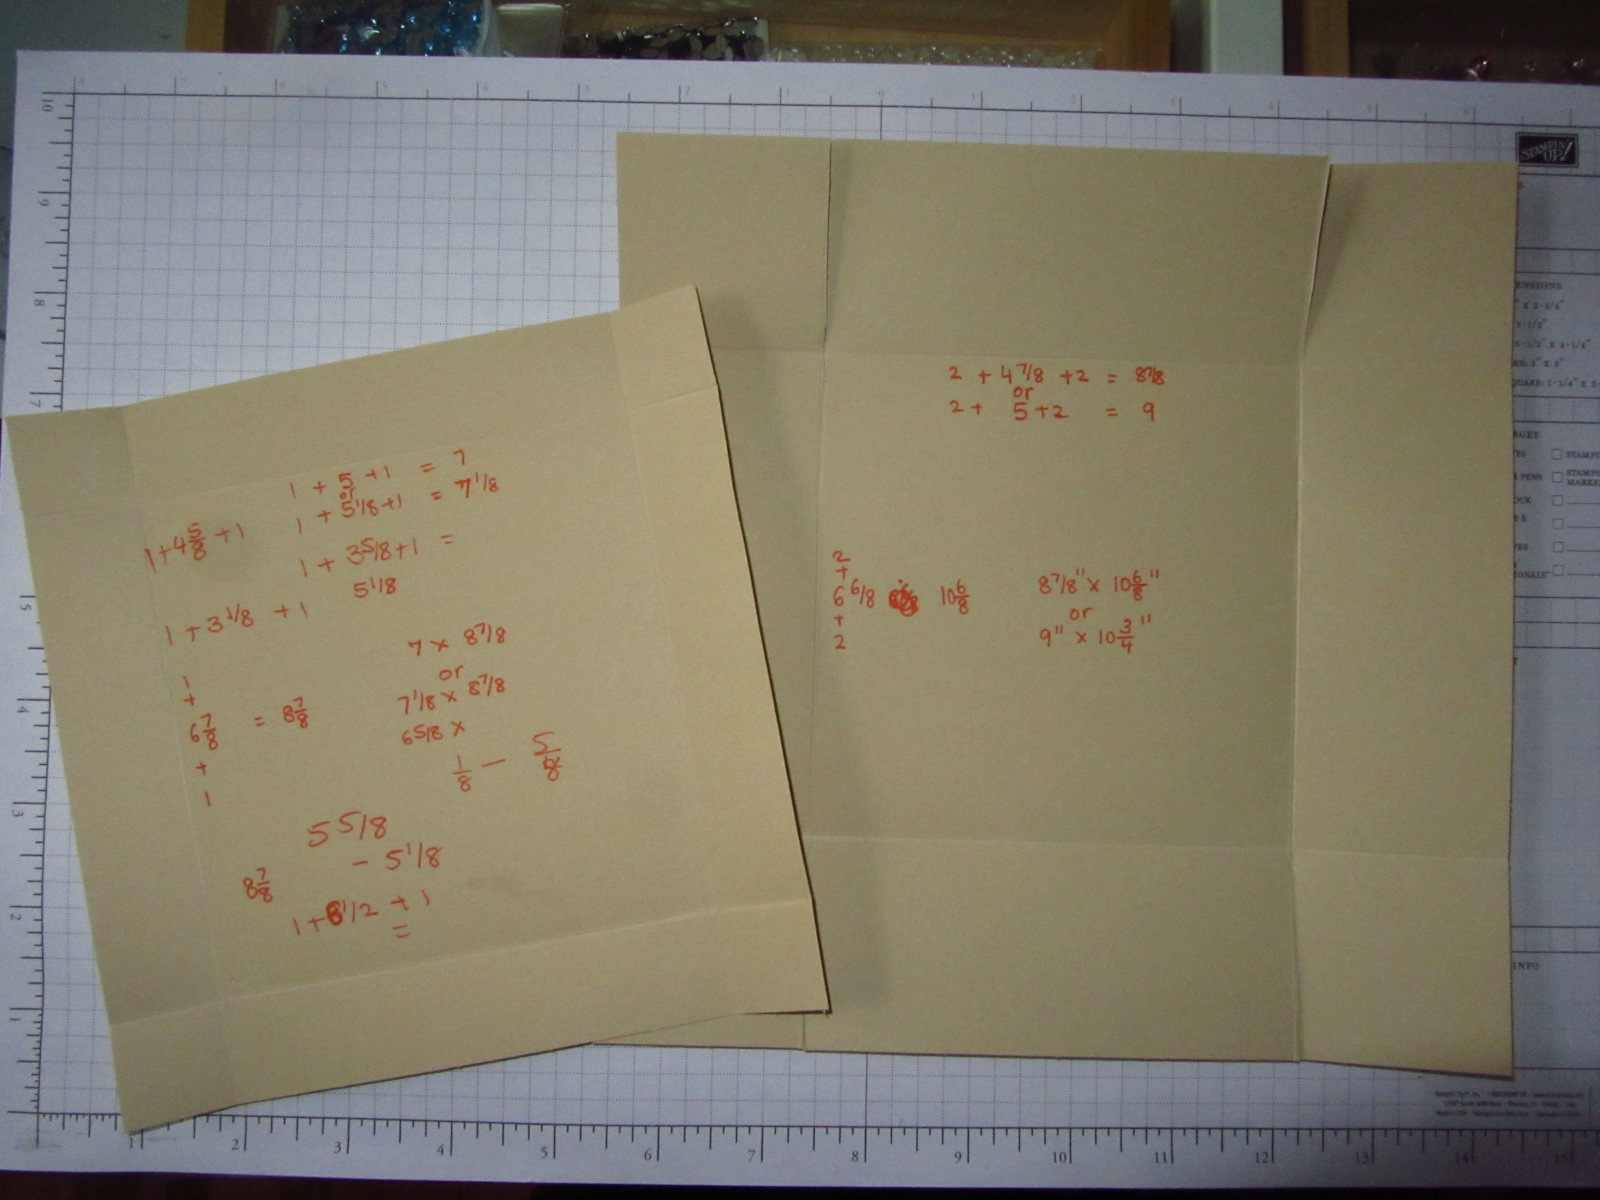
 So I started and remembered that cards I make measure 4-1/4" x 5-1/2". So it was not going to fit in this 3"x3" box. So I had to do some mathematical calculations and figure out how I would make my cards fit in.

Many numbers later... I got it and made the box just to realize that I have recently changed my card size from 4-1/2"x6" to 4-1/4"x5-1/2" but my envelopes are still the ones that fit the previous sizes. Some more calculations later... I finally had the box. Yipeeeeeeeeeee....
Time to make the actual box that will hold the Thank You cards. So the only changes I made to the Splitcoaststampers 3"x3" Notecards Box was the measurements of the Cardsotck.
For the Base: 1 Cardstock measuring 9"x 10-3/4". Score at 2" all sides.
For the Top: 1 Cardstock measuring 7-1/8"x 8-7/8" score at 1" on all side.
For Designer paper-to cover the top: I used CS measuring 6-5/8"x 8-1/2" and score at 3/4"
For Designer paper to cover the bottom: I used 2 strips of 1-7/8"x12" and glued it around the box.
Just follow the directions on splitcoaststampers and finish the box...It is a versatile box that can be used to keep cards, for gifts, candies etc.
Here is my final product:


 So the days I am home, I intend to keep this on and try new stuff ;)
Until next time,
Happy Krafting
Cheers =)
 So I started and remembered that cards I make measure 4-1/4" x 5-1/2". So it was not going to fit in this 3"x3" box. So I had to do some mathematical calculations and figure out how I would make my cards fit in.
Many numbers later... I got it and made the box just to realize that I have recently changed my card size from 4-1/2"x6" to 4-1/4"x5-1/2" but my envelopes are still the ones that fit the previous sizes. Some more calculations later... I finally had the box. Yipeeeeeeeeeee....
Time to make the actual box that will hold the Thank You cards. So the only changes I made to the Splitcoaststampers 3"x3" Notecards Box was the measurements of the Cardsotck.
For the Base: 1 Cardstock measuring 9"x 10-3/4". Score at 2" all sides.
For the Top: 1 Cardstock measuring 7-1/8"x 8-7/8" score at 1" on all side.
For Designer paper-to cover the top: I used CS measuring 6-5/8"x 8-1/2" and score at 3/4"
For Designer paper to cover the bottom: I used 2 strips of 1-7/8"x12" and glued it around the box.
Just follow the directions on splitcoaststampers and finish the box...It is a versatile box that can be used to keep cards, for gifts, candies etc.
Here is my final product:


Until next time,
Happy Krafting
Cheers =)
No comments:
Post a Comment